A white background with a few lines on it

The Ultimate Guide to Set Design Software: From Digital Sketching to Technical Blueprints

Chris Paul • October 13, 2024

Introduction: Elevating Your Set Design Process with the Right Tools


The world of set design has come a long way from hand-drawn sketches and physical models. Today, digital tools and software have revolutionized how set designers work, helping them create stunning visuals and highly accurate technical blueprints. Whether you’re working on a theater production, a film, or an event, having the right software can make a huge difference in your creative process and the final outcome.


In this post, I’ll break down many of the essential tools for set designers, categorizing them into digital sketching, rendering, animation, technical drawing, and hybrid software.  At the end, I'll give you a complete comparison table, an FAQ section and a high five.  OK, let's go!

First:  Yes, Drawing by Hand is Still Useful!

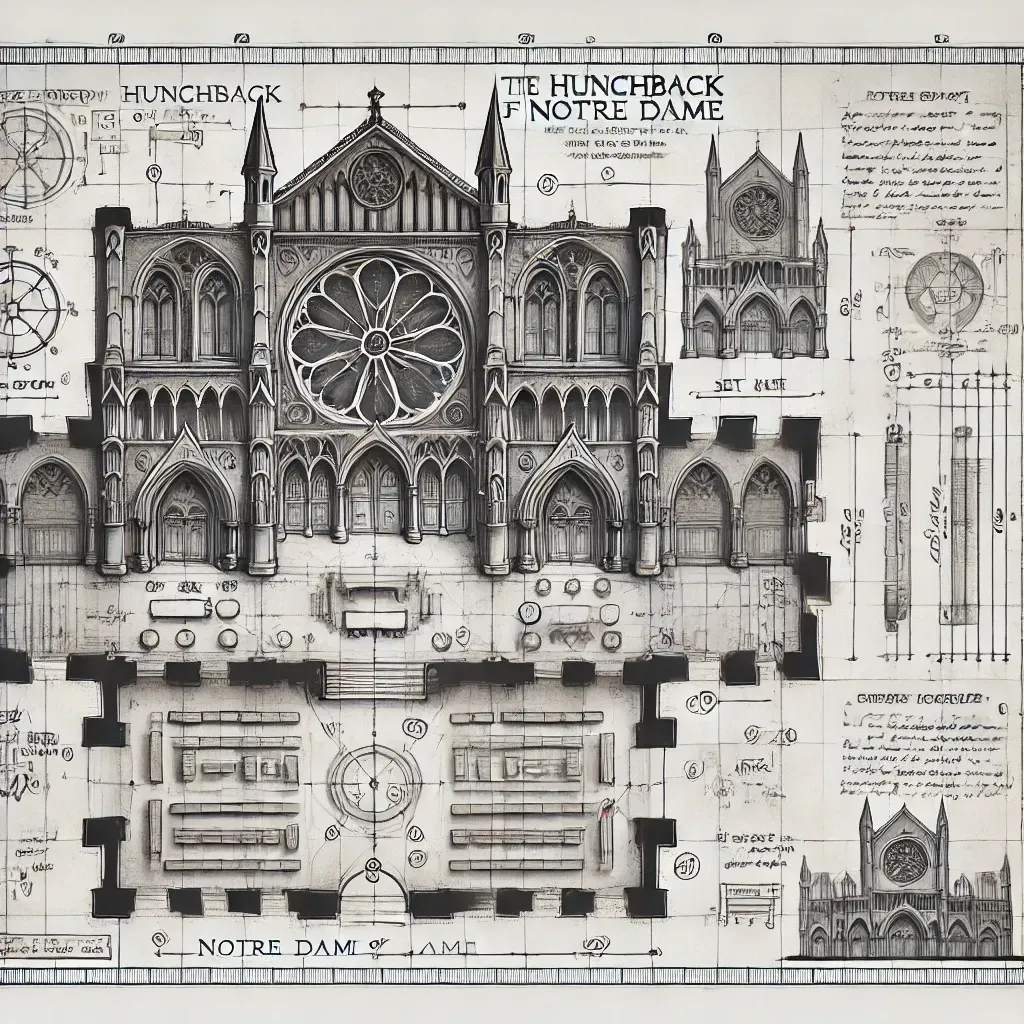
A black and white drawing of the hunchback of notre dame

Before diving into the digital realm, let’s take a moment to appreciate the timeless value of hand-drawing your set design. There’s something inherently expressive about putting pencil to paper that allows your creativity to flow freely. Early sketches can help you conceptualize ideas quickly and experiment with different layouts and compositions without the constraints of software. It’s a fantastic way to brainstorm and visualize your thoughts in the early stages of set design.


However, as we embrace 2024, it’s worth noting that many artists now go digital from the start, leveraging technology to streamline their design process. Digital tools offer unparalleled flexibility and allow for quick adjustments, making it easier to explore different concepts. As your ideas evolve and you begin to refine your vision, transitioning to digital tools can significantly enhance your workflow. Digital software not only allows for precision and flexibility but also opens up a world of possibilities for rendering, technical drawings, and collaborative work. So, when you’re ready to take your designs from concept to creation, here are some of the best tools to help you elevate your set design process.

Why Software is a Game-Changer for Set Designers


Set design has always been a blend of creativity and technical skill. In the past, designers relied heavily on manual drafting and physical models, but now, digital tools allow for more detailed, flexible, and collaborative work. Software not only helps you visualize your ideas but also communicate them clearly to directors, production teams, and other departments.


In my world, I absolutely love showing a director a set with the ability to respond to quick changes.  A director may say, "I wonder how this would look with the stairs in the middle", to which I can respond, "Give me 4 second....".  A few clicks later, we're looking a new design.


As productions increasingly rely on virtual environments, projections, and 3D elements, digital set design tools have become more critical than ever. Whether you’re sketching rough ideas, rendering photorealistic environments, or creating detailed blueprints for construction, having the right tools in your software arsenal can enhance your work and bring your creative vision to life.


Digital Sketching: Photoshop, Procreate, Infinite Painter

Photoshop: The Industry Standard for Digital Sketching

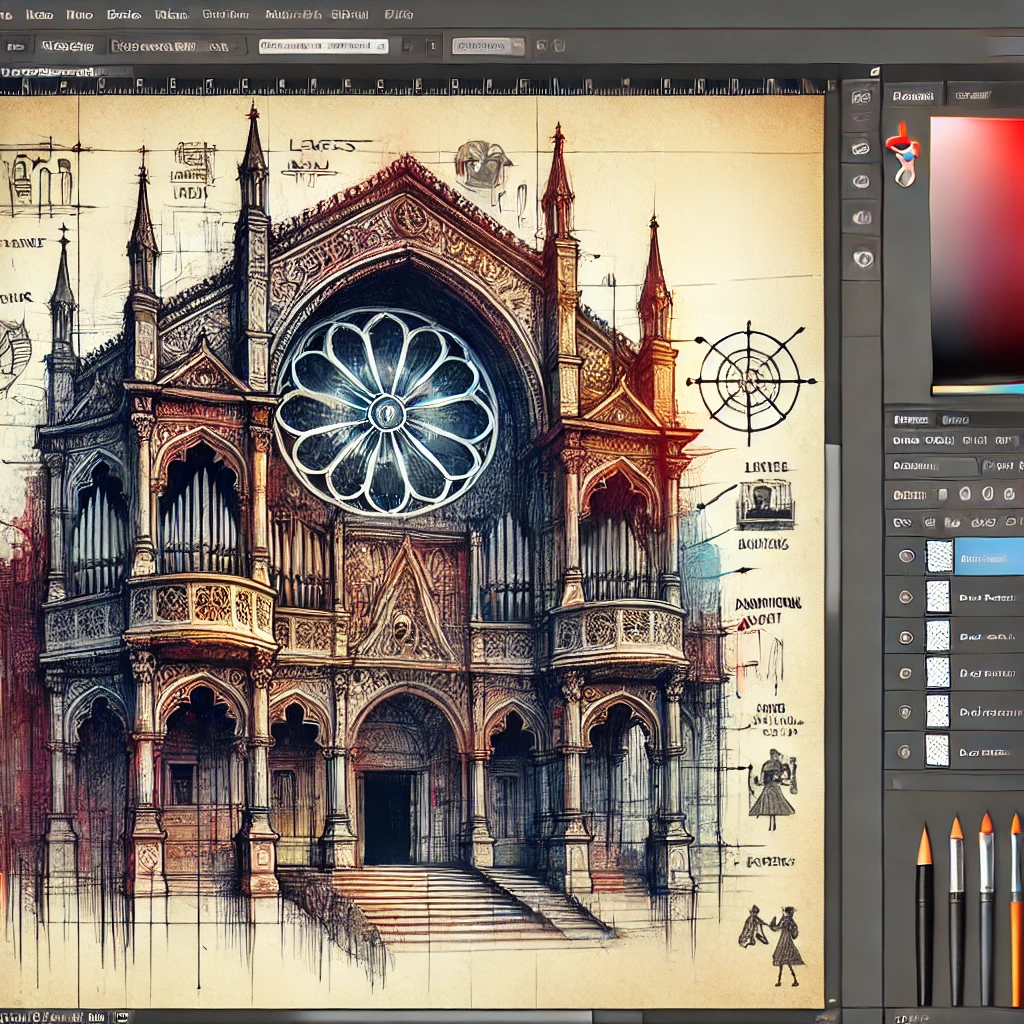
A computer screen shows a drawing of a cathedral

Photoshop is the go-to tool for many designers, and for good reason. It offers powerful drawing, painting, and photo-editing tools that allow set designers to quickly sketch ideas, add textures, and create mood boards. One of the key advantages of Photoshop is its layering system, which lets you separate different elements of a design and manipulate them independently. Whether you’re sketching out initial concepts or refining the details of a backdrop, Photoshop is an excellent choice.


Today, with Adobe's Firefly AI tools, you can ask it to generate complete images, objects or fill in gaps to help get the job done.  You're still the artist, but have an AI helper can be super valuable.


Photoshop also integrates seamlessly with other Adobe tools, making it easy to import assets or export your sketches for use in solutions like After Effects or Illustrator.


Drawing Style:  In Photoshop, creating shapes is more freeform and artistic. You’re using brushes, the pen tool, or shape tools to draw directly on a 2D canvas. While not built for 3D modeling, you can use layers and masks to give the illusion of depth, shading, and perspective. It’s more about sketching concepts than building accurate, structured forms.  For me, I go to photoshop once my 3D Renders have been done elsewhere to enhance them.


Pro Tip: Use Photoshop’s perspective grids to help keep your sketches accurate and aligned with the set’s spatial dimensions. You can also utilize blending modes and smart objects to create textured surfaces that mimic real materials like wood or brick.

Procreate: Perfect for On-the-Go Sketching

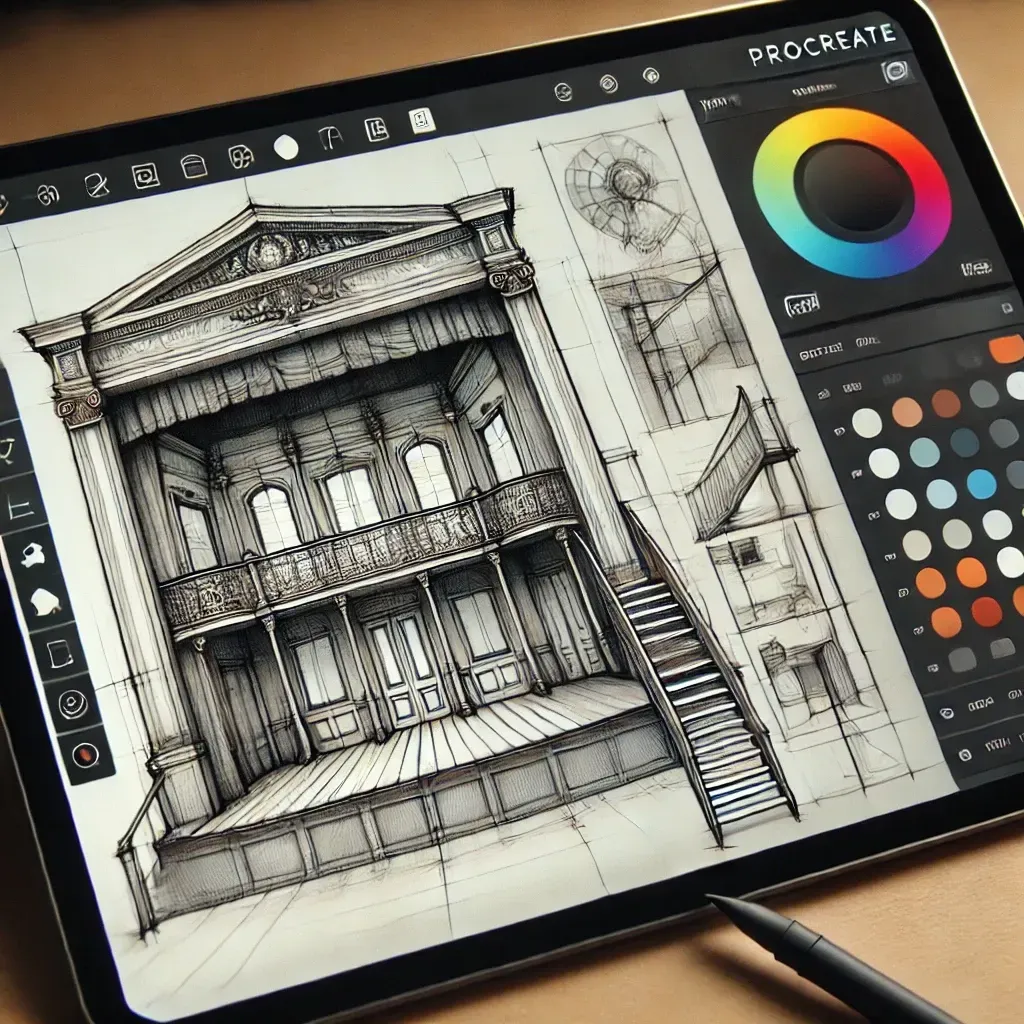
A tablet with a drawing of a building on it

Enter stage left, Procreate.


For those who prefer to work on an iPad, Procreate is a fantastic tool for digital sketching. It’s intuitive, user-friendly, and offers a wide range of brushes and tools that make it easy to draw, paint, and even animate. One of Procreate’s standout features is its ability to record your drawing process as a time-lapse video, which can be useful for documenting your workflow or sharing progress with directors and clients (it's also just fun to watch).


While Procreate is not as feature-rich as Photoshop, it excels in simplicity and portability. You can quickly sketch out set designs, then transfer your files to a desktop program for more detailed work.


Drawing Style:  Procreate works similarly to Photoshop, but it’s optimized for drawing on tablets  (Note, Photoshop has an iPad version too). You create shapes by sketching them out with a stylus, layering brush strokes to build form, texture, and shadow. There’s no true 3D functionality, but you can create a sense of depth by manipulating opacity and blending layers. It’s an intuitive and tactile way to quickly visualize design ideas.


Pro Tip: Create custom brushes in Procreate to replicate specific textures found in your set design, like foliage or distressed wood. You can use these to add a realistic touch to your digital sketches.

Infinite Painter: An Android Alternative for Sketching

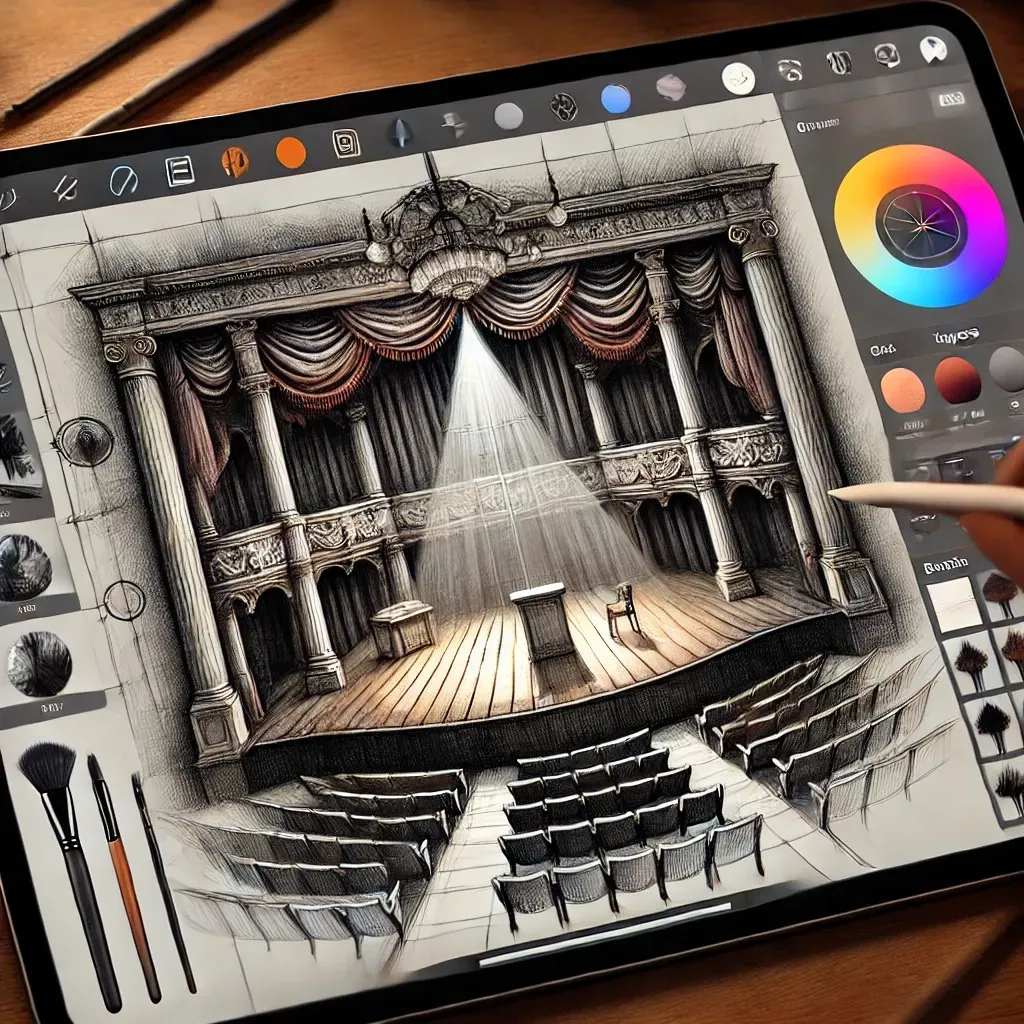
A person is drawing a stage on a tablet with a pen.

If you’re an Android user like me, Infinite Painter is a robust alternative to Procreate. It offers many of the same features, including pressure sensitivity for a more natural drawing experience. Infinite Painter also supports layer-based editing and provides a variety of brushes, textures, and effects.


Though it’s not as widely used in professional set design circles, it’s a solid tool for designers who want to sketch on Android devices. Its simplicity and ease of use make it a good choice for early-stage concept work.  I love being able to sketch something out and quickly send it right to the director.


Drawing Style:  In Infinite Painter, shapes are drawn freehand using a wide range of customizable brushes. The modeling style is highly organic and fluid, where the focus is on building forms visually through shading and layering. It’s useful for sketching quick ideas or early concepts but doesn’t involve technical modeling features like in 3D software.


Rendering & Animation: Blender, Cinema 4D

Blender: Open-Source Powerhouse for Realistic Visuals

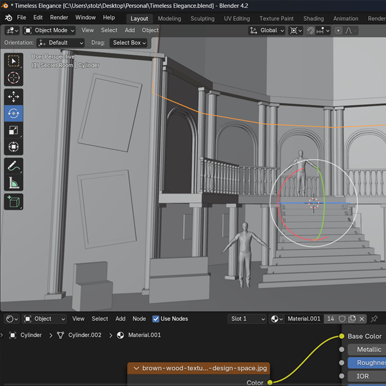
A 3d model of a building with stairs and columns

Let's start the 3D section with my personal favourite, Blender.


Blender is an incredibly versatile tool that can take your set designs to the next level. Whether you’re creating detailed 3D models, rendering realistic lighting and textures, or even animating moving set elements, Blender can handle it all. It’s open-source, meaning it’s free to use, but it’s packed with professional-grade features that rival much more expensive software.


Set designers can use Blender to create photorealistic renderings of their sets, complete with lighting effects and animated sequences. This is especially useful when you need to show directors how lighting changes throughout a scene or how set pieces move during transitions.


I personally use Blender for everything up until it's time to lay in the 3D drawings for the construction team.  At that point I more to Rhino, which we'll discuss later.


Modeling Style:  In Blender, the modeling process involves working with vertices, edges, and faces to shape your objects. Typocally, you'll start by adding basic shapes like cubes, spheres, or planes and then you'll manipulate them to your liking. You can extrude edges, add subdivisions, or merge vertices to create complex geometry. Blender offers both a polygonal and sculpting approach, allowing you to mold forms as if you were working with clay or construct precise structures with clean geometry.


Pro Tip: Take advantage of Blender’s add-on capabilities.  Websites like Blender Market even have theatre specific tools for things like easy staircases. You can also use Blender’s animation tools to simulate moving elements of the set, like rotating platforms or sliding doors.

Cinema 4D: The Gold Standard for Motion and Animation

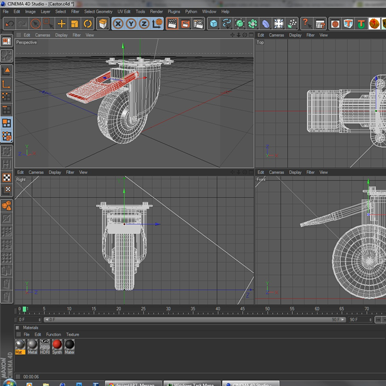
A computer screen shows a 3d model of a wheel

Cinema 4D is another powerful tool that’s particularly well-suited for creating animations and motion graphics. While it’s often used in film and television production, it can also be invaluable for set designers who want to showcase dynamic elements of their sets.


With Cinema 4D, you can create complex animations that demonstrate how different set pieces interact or how lighting and projection mapping will play out during a performance. It’s also known for its ease of use and intuitive interface, making it a great option for designers who are new to 3D animation.


Modeling Style:  Cinema 4D’s modeling revolves around parametric objects, splines, and polygonal modeling. You start with basic shapes (primitives) or draw splines that can be extruded or lofted into 3D forms. Polygonal modeling in Cinema 4D is similar to Blender’s, where you adjust vertices, edges, and faces to create detailed forms. It’s known for its ability to animate these shapes, making it great for dynamic set pieces or environments that need to be visualized in motion.


Pro Tip: Cinema 4D is excellent for creating projection-mapped environments. You can design and animate backdrops that change dynamically during the performance, enhancing the overall storytelling.


Technical Drawing: Vectorworks, Rhino 3D, AutoCAD

AutoCAD: The  Standard for Technical Drawings

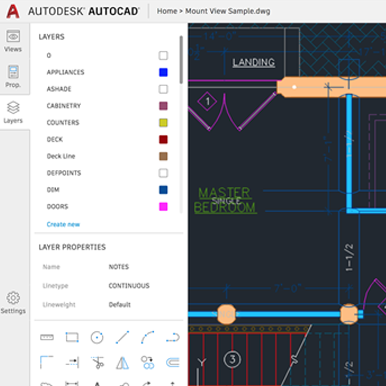
A screenshot of an autocad drawing of a bedroom

AutoCAD is another technical drawing tool that’s widely used in architecture and construction, and it’s equally valuable for set design. It’s particularly well-suited for creating 2D floor plans, elevations, and detailed construction drawings. AutoCAD’s strength lies in its accuracy and precision, making it a reliable tool for designing sets that require exact measurements.


While it’s not as visually oriented as Rhino or Vectorworks, AutoCAD excels in creating detailed blueprints and construction documents that can be shared with builders, carpenters, and other members of the production team.


Modeling Style:  In AutoCAD, shapes are typically created using 2D lines, polylines, arcs, and circles. These are then extruded or revolved into 3D objects, although the focus of AutoCAD is primarily on creating detailed 2D technical drawings. You build geometry by entering precise dimensions, ensuring that all aspects of the set are accurately measured. AutoCAD is known for being highly technical, and the modeling process is more about precision than artistic expression.


Pro Tip: AutoCAD is perfect for creating highly accurate ground plans that can be used during the set construction phase. You can easily layer different elements like walls, doors, and platforms to ensure everything is to scale.

Rhino 3D: Precision and Flexibility for Custom Set Elements

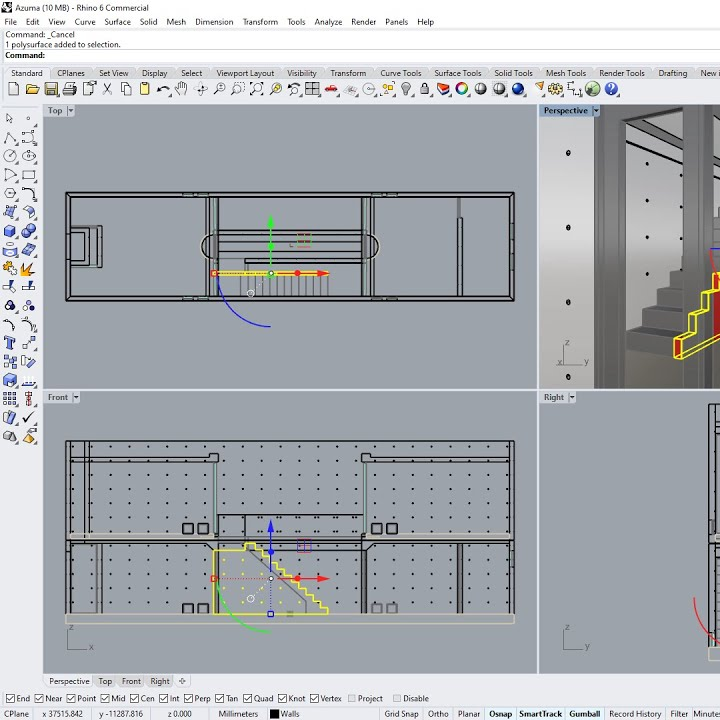
A computer screen shows a drawing of a building with stairs.

Rhino 3D is another excellent tool for creating precise models and technical drawings, particularly when you’re designing custom set elements. It’s known for its ability to handle complex geometries, making it ideal for creating intricate props or unique architectural features. Rhino 3D is also highly accurate, so you can ensure that every measurement is correct before you start building.


Set designers often use Rhino for the fabrication phase, as it allows for detailed 3D modeling and can export files for CNC cutting or 3D printing.


Modeling Style:  Rhino 3D is known for its NURBS-based modeling, which is different from the polygonal modeling found in Blender or Cinema 4D. NURBS allow for the creation of smooth curves and organic shapes by manipulating control points on surfaces or curves. You can loft curves into surfaces, revolve them around axes, or create complex intersections between forms. Rhino excels at creating highly detailed, mathematically precise models that can include freeform surfaces, making it perfect for curved or intricate set elements.


Pro Tip: If you’re designing custom furniture or props for a set, Rhino 3D is perfect for creating highly detailed models that can be fabricated with precision.

Vectorworks: A Powerful Solution for Theatre Drawings

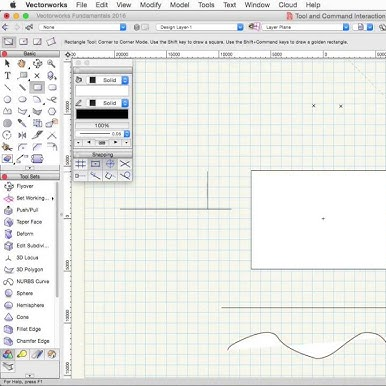
A computer screen is open to a program called vectorworks

When it comes to creating detailed, accurate technical drawings for set construction, Vectorworks is the tool of choice for many professionals. It’s widely used in the theater and live event industries and is known for its precise drafting capabilities. With Vectorworks, you can create 2D and 3D plans that include measurements, structural details, and even lighting plots.


One of Vectorworks’ key strengths is its integration with other design tools, allowing you to import sketches or models from other software and refine them into production-ready blueprints. It’s particularly useful for coordinating between different departments, as you can create comprehensive plans that include everything from scenery to lighting and rigging.


Modeling Style:  Vectorworks uses a CAD-based modeling approach, where you build precise shapes by drawing 2D plans and elevations and then converting them into 3D forms. You use line tools, arcs, and shapes to create detailed drawings, which can then be extruded or revolved to generate 3D objects. The focus here is on architectural precision, so dimensions and accuracy are key, making it ideal for set construction documentation.


Pro Tip: Use Vectorworks’ built-in lighting and rigging tools to design complex set environments that integrate seamlessly with the rest of the production. You can also create fly systems and other mechanical elements to ensure your set functions smoothly.


Hybrid: SketchUp

SketchUp: The Versatile Hybrid for 3D Modeling and Technical Drawings

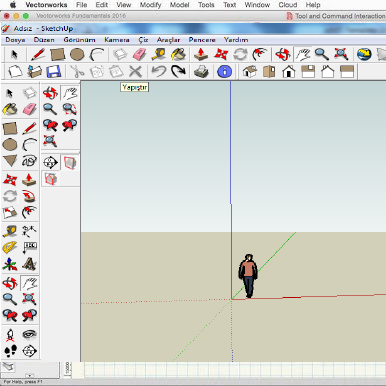
A computer screen shows a drawing of a man walking

SketchUp is unique in that it bridges the gap between creative 3D modeling and technical drafting. It’s user-friendly, making it great for designers who want to quickly model sets in 3D and then generate accurate blueprints. SketchUp’s flexibility allows you to create rough concepts and then refine them into detailed plans.


What makes SketchUp stand out is its ability to seamlessly transition from artistic rendering to technical documentation. You can model complex set pieces, apply textures, and even simulate lighting, all within a single software. Once your design is finalized, you can export the model into various formats to share with other departments or use for construction.


Without plugins like V-Ray, you're not going to get photo-realistic results, but you can always export to something like Blender if you want to amp it up a notch.


Modeling Style:  SketchUp

SketchUp uses a straightforward, intuitive approach to 3D modeling. You typically start with 2D shapes (like rectangles or circles) drawn directly on the canvas and then use the Push/Pull tool to extrude them into 3D forms. The interface allows for easy snapping and aligning, making it simple to create architectural elements like walls, doors, and platforms. SketchUp’s modeling style is quick and accessible, which makes it ideal for early conceptual work and transitioning into more refined 3D models.


Pro Tip: Use SketchUp’s “Follow Me” tool to quickly create custom shapes like curved archways or decorative moldings. It’s perfect for adding those finishing touches to your set design.


Comparison Table

Software Cost Learning Curve Modeling Difficulty Modeling Style Dimensions Realistic Rendering Animation & VFX Plugins/Add-Ons
Procreate Cheap Low Low Digital sketching with brushes and layers No No No Limited
Infinite Painter Cheap Low Low Digital painting and sketching No No No Limited
Photoshop Cheap Medium Low Raster-based sketching with layers No Limited Limited Extensive
Blender Always Free Medium Medium 3D modeling with vertices, edges, faces Yes Yes Yes Extensive
Cinema 4D Moderate High High 3D parametric modeling Yes Yes Yes Extensive
AutoCAD Expensive High High 2D and 3D CAD drafting Yes Limited No Limited
Rhino 3D Expensive High High NURBS-based 3D modeling Yes Yes No Extensive
Vectorworks Expensive High High 3D and 2D drafting, parametric objects Yes Limited Limited Extensive
SketchUp Moderate Low Low 3D surface-based modeling Yes Limited No Moderate

FAQ: Common Questions About Set Design Software

  • What’s the best software for beginners in set design?

    For beginners, SketchUp is a great starting point due to its ease of use and versatility. It’s intuitive, offers both 3D modeling and drafting capabilities, and has a free version.

  • What's the best software for animation and realism?

    Hands down, my recommendation is Blender.  It's free, open source, has tons of add-ons and YouTube is filled with tutorials.  Personally, this is how I do all of my design work.

  • Can I use Photoshop for technical drawings?

    While Photoshop is fantastic for sketching and concept art, it’s not designed for technical drawings or precise measurements. You’ll want to use tools like AutoCAD or Vectorworks for that purpose.

  • What’s the difference between Blender and Cinema 4D?

    Blender is an open-source tool that’s excellent for 3D modeling, rendering, and animation, and it’s free. Cinema 4D is more commonly used in the film and TV industries for motion graphics and advanced animation, but it comes with a higher price tag.


Poll:  What Does Our Community Use?

I ran a quick, 1-day poll on our Facebook Group of over 70,000 set designers.  Here's what they said!

Software Vote %
Sketchup 26%
Vectorworks 24%
Photoshop 16%
Drawn By Hand 16%
AutoCad 11%
Blender 3D 3%
Procreate 1%
Infinite Painter 1%
Cinema 4D 1%
Rhino 3D 1%

Conclusion: Find the Right Tool for Your Process

Choosing the right set design software depends on your specific needs, the type of production you’re working on, and your skill level. For quick sketches and early-stage concept work, tools like Photoshop and Procreate are ideal. If you need to create photorealistic renderings or animations, Blender and Cinema 4D are your go-to choices. And for technical drawings and blueprints, Vectorworks, AutoCAD, and Rhino 3D offer the precision and detail required to turn your vision into reality.


Ultimately, the best approach is to mix and match software tools to suit your workflow, enabling you to take your set design from concept to construction with efficiency and creativity.

Want more?  Here is a quick look at my design process.

Set Crafters Is Sponsored In Part By:

  • Siphon Strategy

    Say Goodbye To Wordpress, With Siphon

    Siphon Strategy
    Siphon Strategy
Share by: